

I recently wiped my laptop and reinstalled from scratch. This in itself is something I can recommend.
As I am mostly dabling in Python these days, it was a while before I had to work on an old PHP project that was put on the back burner some time ago.
Being a hands-on type of guy, I used to run these projects on a remote web server. Problem is, I no longer have access to the server. What to do!!!
I used to run a local webserver on my machine, but that was waaaayyyy back in the Windows 7 days. So here we are...
To install a windows server on your Windows 10 machine, do the following,
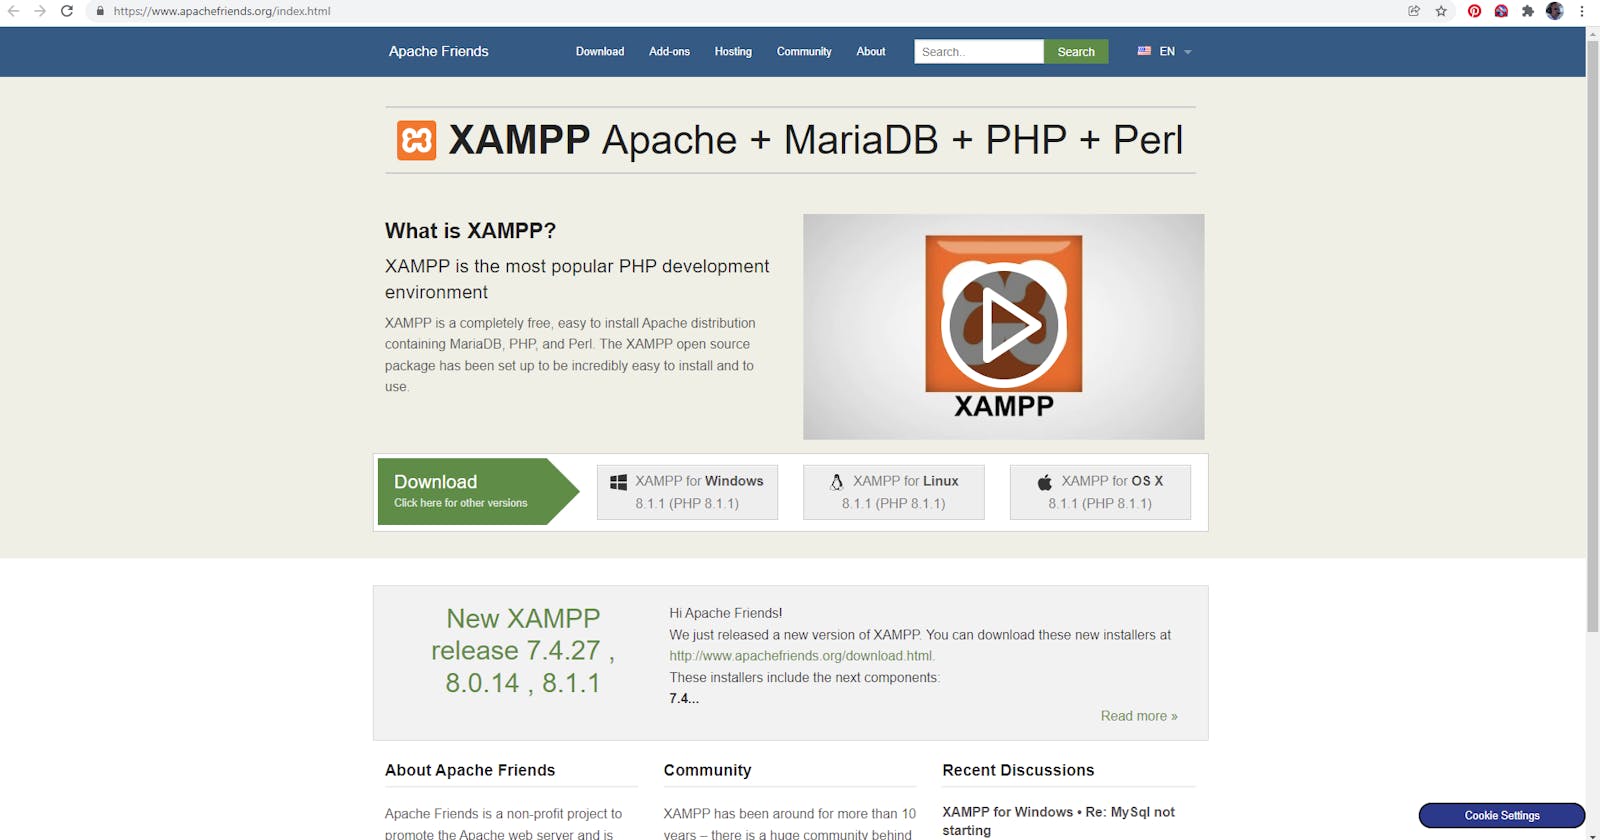
First, head on over to XAMPP and download the installer there.
Run the installer. Easy as that.
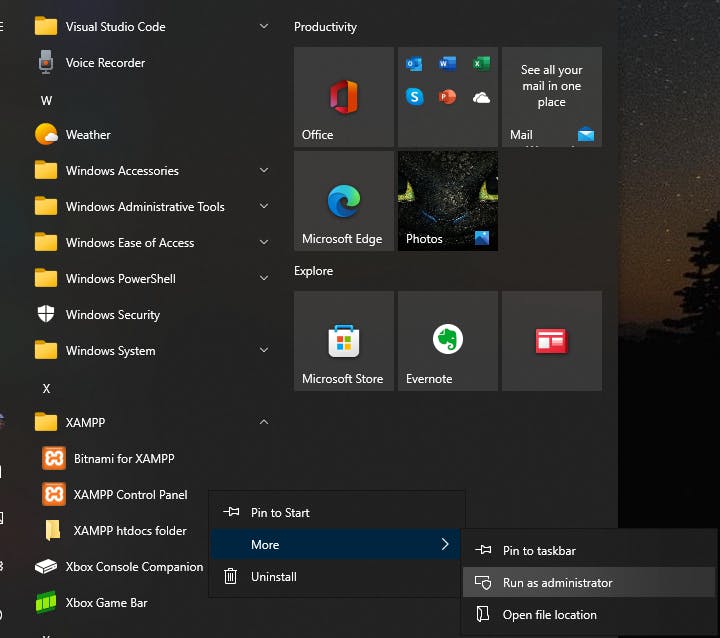
Important!! When running the XAMPP control panel, run it as administrator:
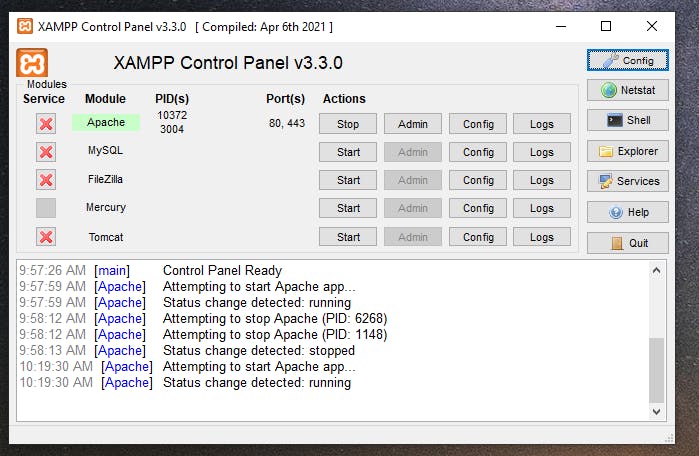
With the control panel open, you can start and stop the services as you like:
With the Apache server running you can enter "localhost" into your webbrowser and you should get the following:
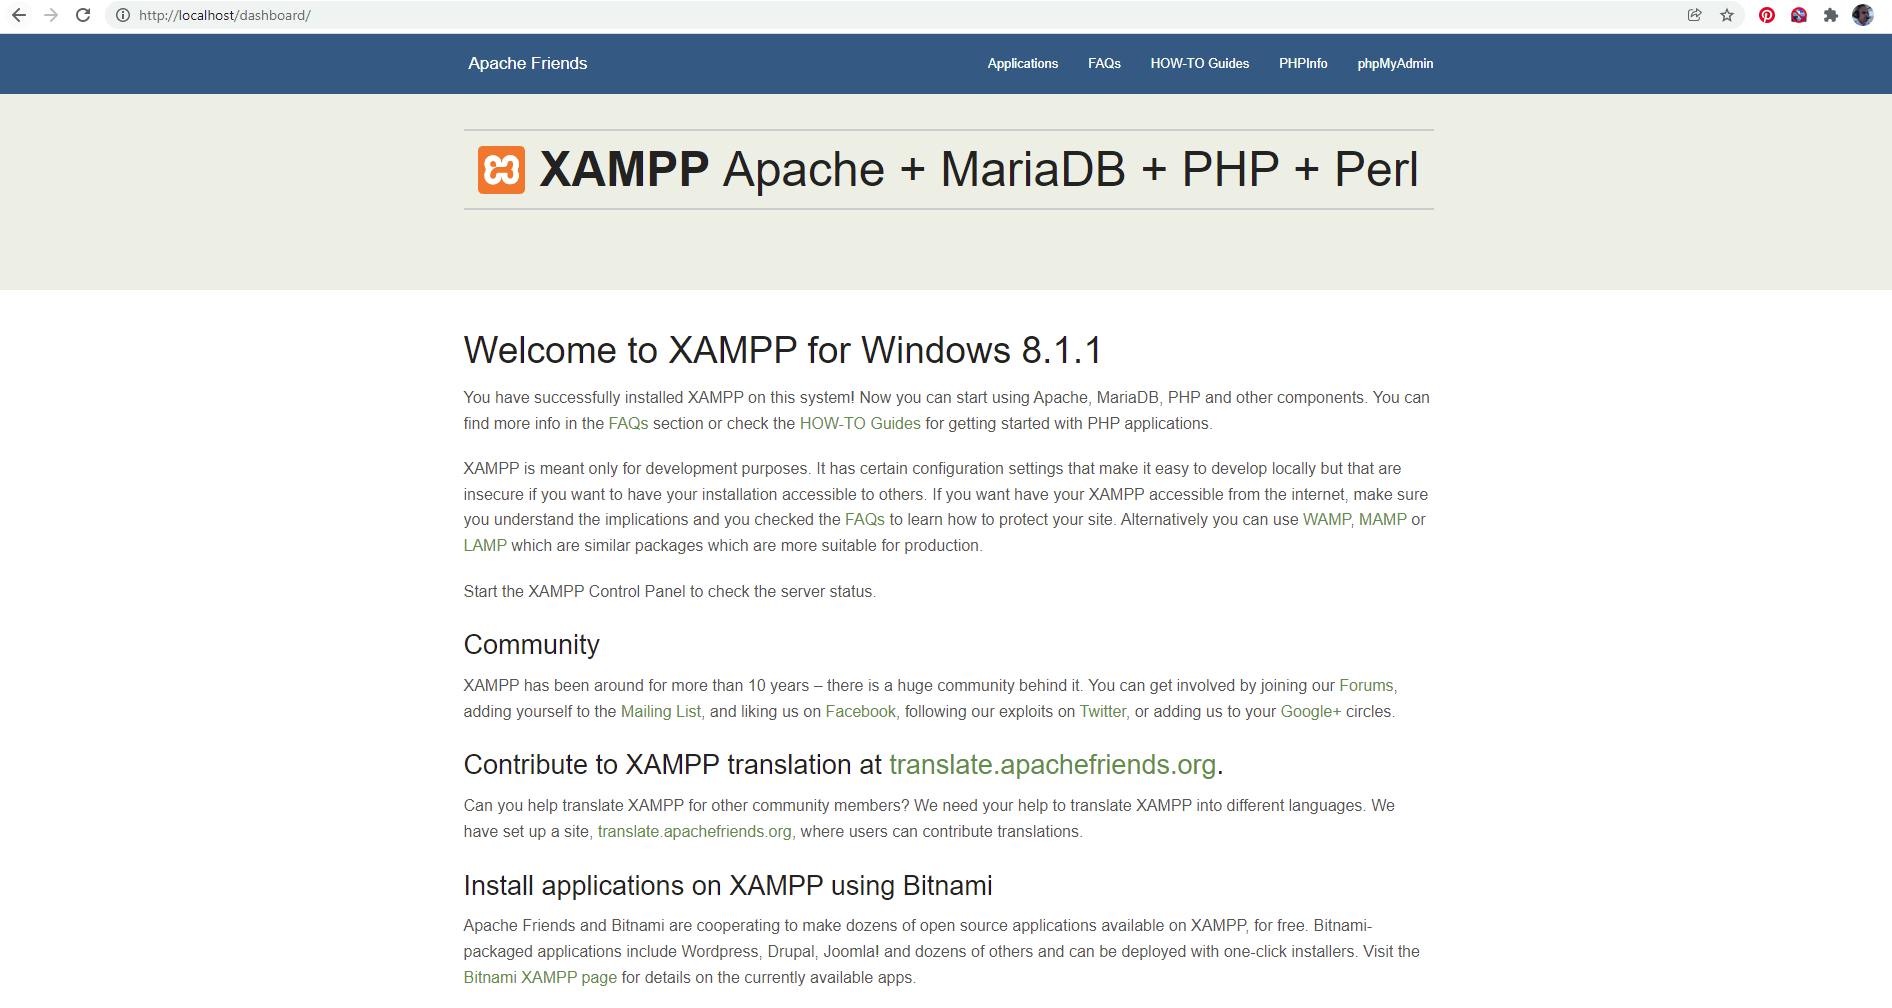
Congratulations, you now have a local webserver installed, for all those sql and php development projects.
As a sidenote: you now get Bitnamy as part of XAMPP. This is a one click installed for nifty open source software such as Wordpress. You can now install and run Wordpress on your local webserver with one click. Nifty for reverese engineering of themes etc.